Calibration Best Practices for Gardon Gauge Heat Flux Sensors
Calibration Best Practices for Gardon Gauge Heat Flux Sensors
Understanding Gardon Gauge Heat Flux Sensors
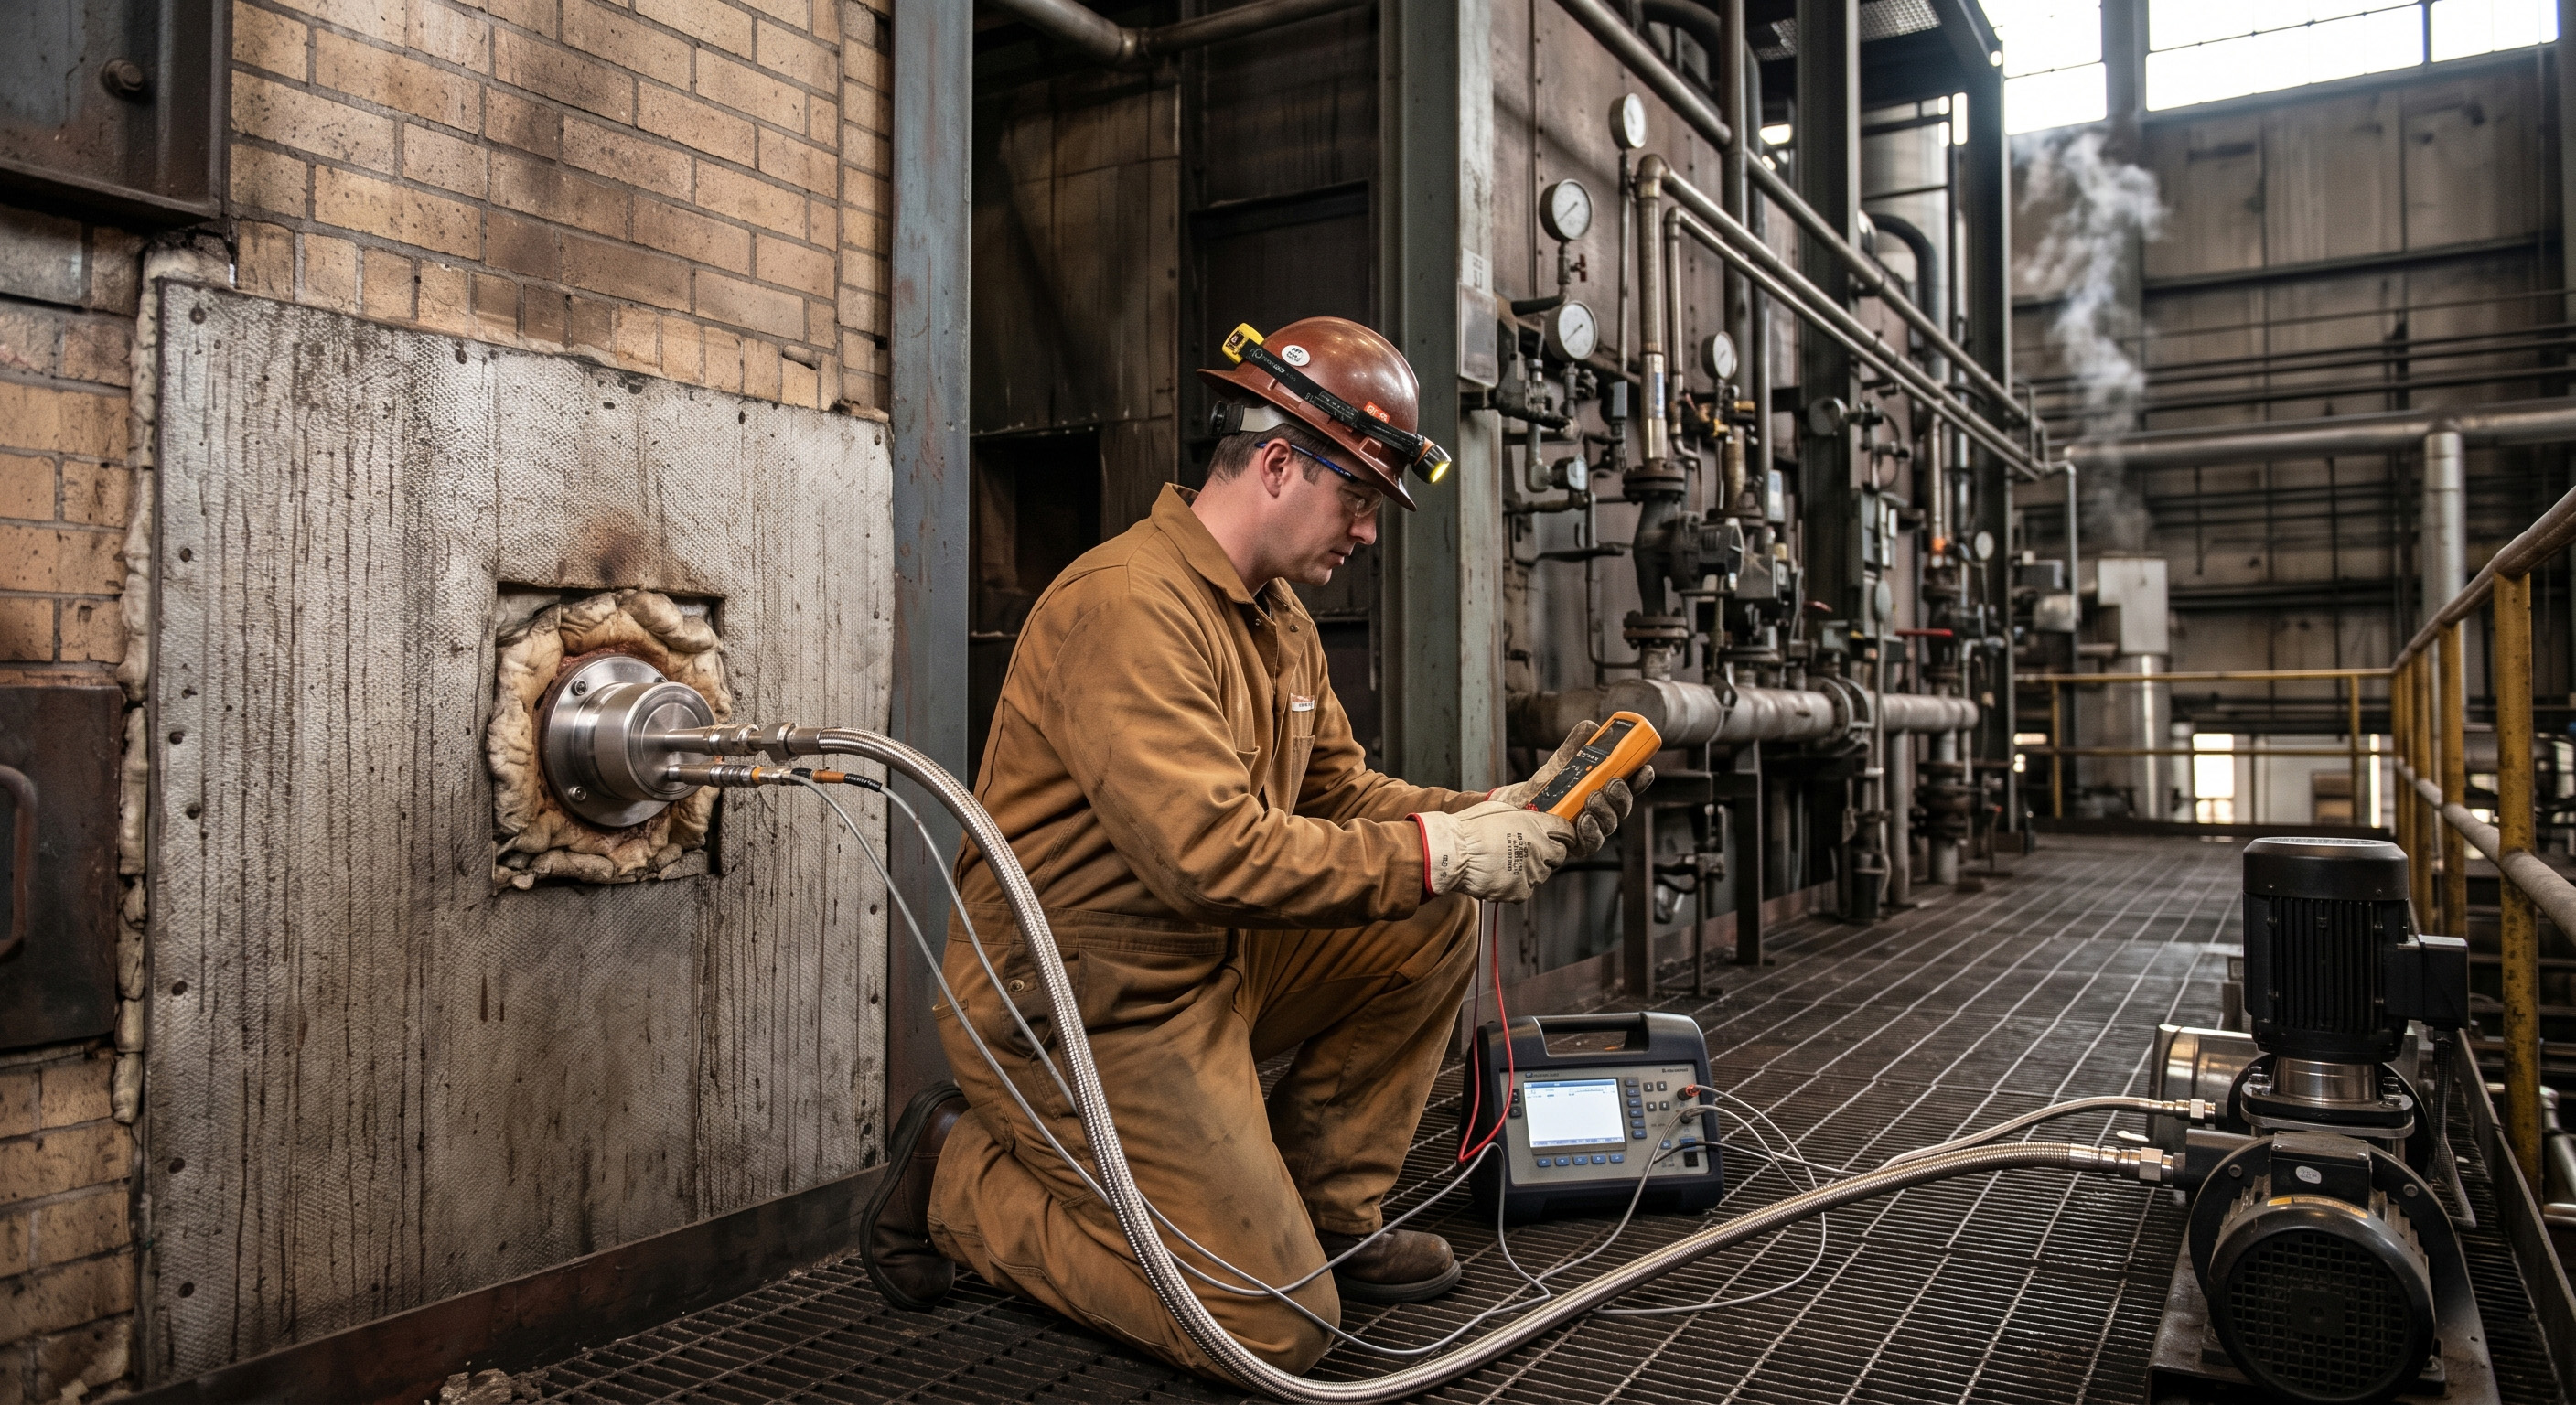
Gardon Gauge heat flux sensors are widely used to measure high-intensity radiant heat in extreme environments. They are designed with a thin metal foil sensor that absorbs heat, making them ideal for applications such as:
- Fire testing (NFPA, ASTM, and ISO standards)
- Aerospace and defense (jet engine exhaust, rocket testing)
- Material testing (flammability and heat resistance studies)
- Industrial safety (workplace exposure to radiant heat)
Because they are often exposed to very high thermal loads, Gardon Gauges must be calibrated regularly to ensure accurate, reliable performance.
Why Calibration is Essential
Calibration corrects for measurement drift caused by:
- Thermal cycling: Repeated exposure to extreme temperatures can alter sensor response.
- Material fatigue: The metal foil can degrade or oxidize over time.
- Environmental contamination: Soot, dust, or corrosion can affect sensitivity.
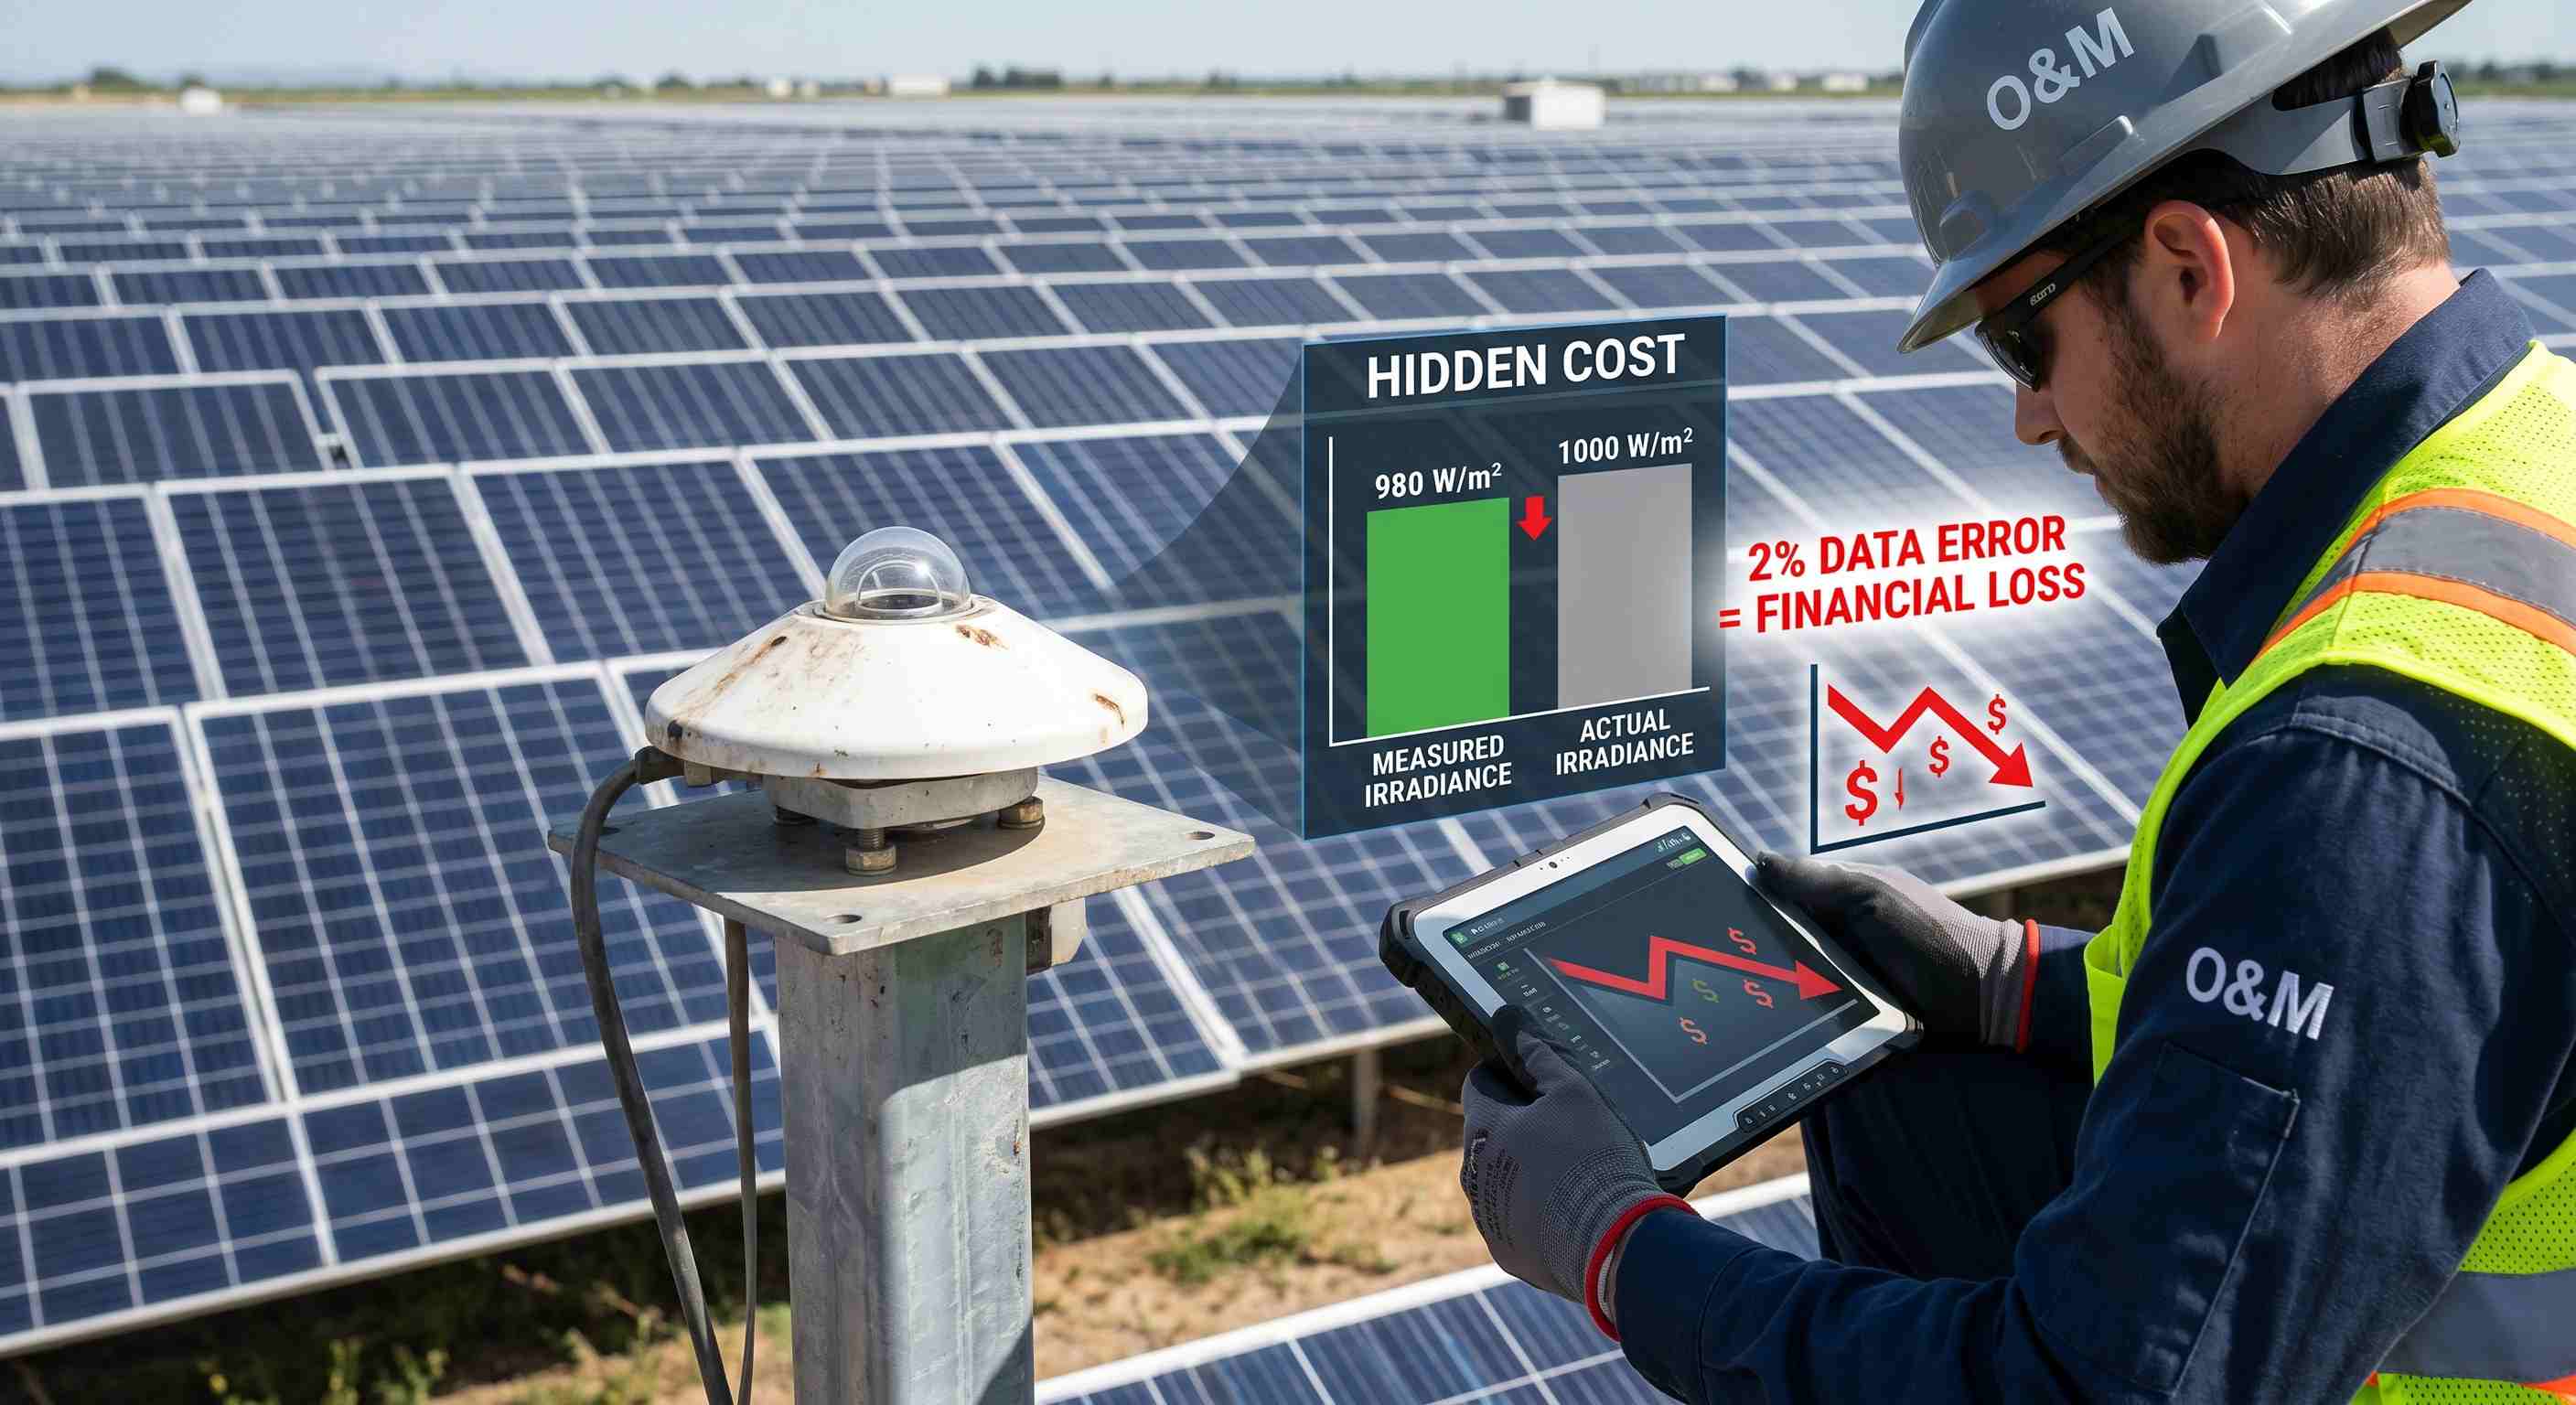
Without proper calibration, even small errors can compromise safety testing, regulatory compliance, and research accuracy.
Best Practices for Gardon Gauge Calibration
1. Follow ISO 17025 and NIST Standards
Always calibrate against traceable standards. An ISO 17025-accredited lab ensures global recognition and adherence to strict quality protocols.
2. Inspect Before Calibration
- Check the foil for discoloration, cracking, or damage.
- Clean off any debris, soot, or oxidation.
- Verify mounting hardware and sensor integrity.
3. Use Appropriate Reference Sources
- Calibration should be performed using controlled radiant heat sources that match the operating range of the sensor.
- Ensure the reference source is itself certified and traceable.
4. Control Environmental Conditions
- Perform calibration in stable, controlled environments to minimize interference.
- Avoid drafts, temperature fluctuations, or reflective surfaces that could skew results.
5. Record Calibration Data Thoroughly
- Document baseline readings, deviations, and corrective adjustments.
- Issue a calibration certificate with uncertainty values for compliance.
6. Establish a Regular Calibration Interval
- Every 12 months is typical for most applications.
- For harsh or high-flux environments (e.g., rocket testing), shorter intervals (6 months) may be required.
Common Mistakes to Avoid
- Skipping inspections: Physical damage can’t be corrected by calibration alone.
- Using non-traceable sources: Leads to unreliable and non-compliant results.
- Overextended intervals: Waiting too long between calibrations increases drift and error.
Why Choose ISOCAL North America
At ISOCAL North America, we provide:
- ISO 17025-accredited calibration for Gardon Gauge sensors.
- Fast turnaround times to minimize downtime.
- Experienced technicians familiar with high-heat flux applications.
- Custom calibration services tailored to fire testing, aerospace, and industrial needs.
Conclusion
Gardon Gauge heat flux sensors are essential tools for measuring extreme radiant heat, but their performance depends on regular, high-quality calibration. By following best practices and working with an accredited calibration provider like ISOCAL North America, you can ensure accurate results, compliance with industry standards, and confidence in your testing data.


