
Calibrating Heat Flux Meters for Cone Calorimeters (ISO 5660 / ASTM E1354)
Introduction
In a cone calorimeter, the heat flux meter decides how hard every specimen is heated. Before testing, the lab uses the meter to set the cone heater so the specimen surface receives a specified irradiance, such as 50 kW/m². If the meter reads 5% low, every specimen is heated 5% harder than the report says.
That error then flows into the results that matter most: time to ignition, peak heat release rate, and total heat release. All of these depend on the incident heat flux. Two labs testing the same material can disagree simply because their heat flux meters disagree.
This guide explains how ISO 5660-1 and ASTM E1354 use the heat flux meter, what the meter has to meet, what goes wrong with it in service, and how to keep it properly calibrated.
How a Cone Calorimeter Uses Irradiance
The cone calorimeter measures how a material burns when exposed to a controlled level of radiant heat. ISO 5660-1 and ASTM E1354 describe essentially the same apparatus and are among the most widely used bench-scale fire tests.
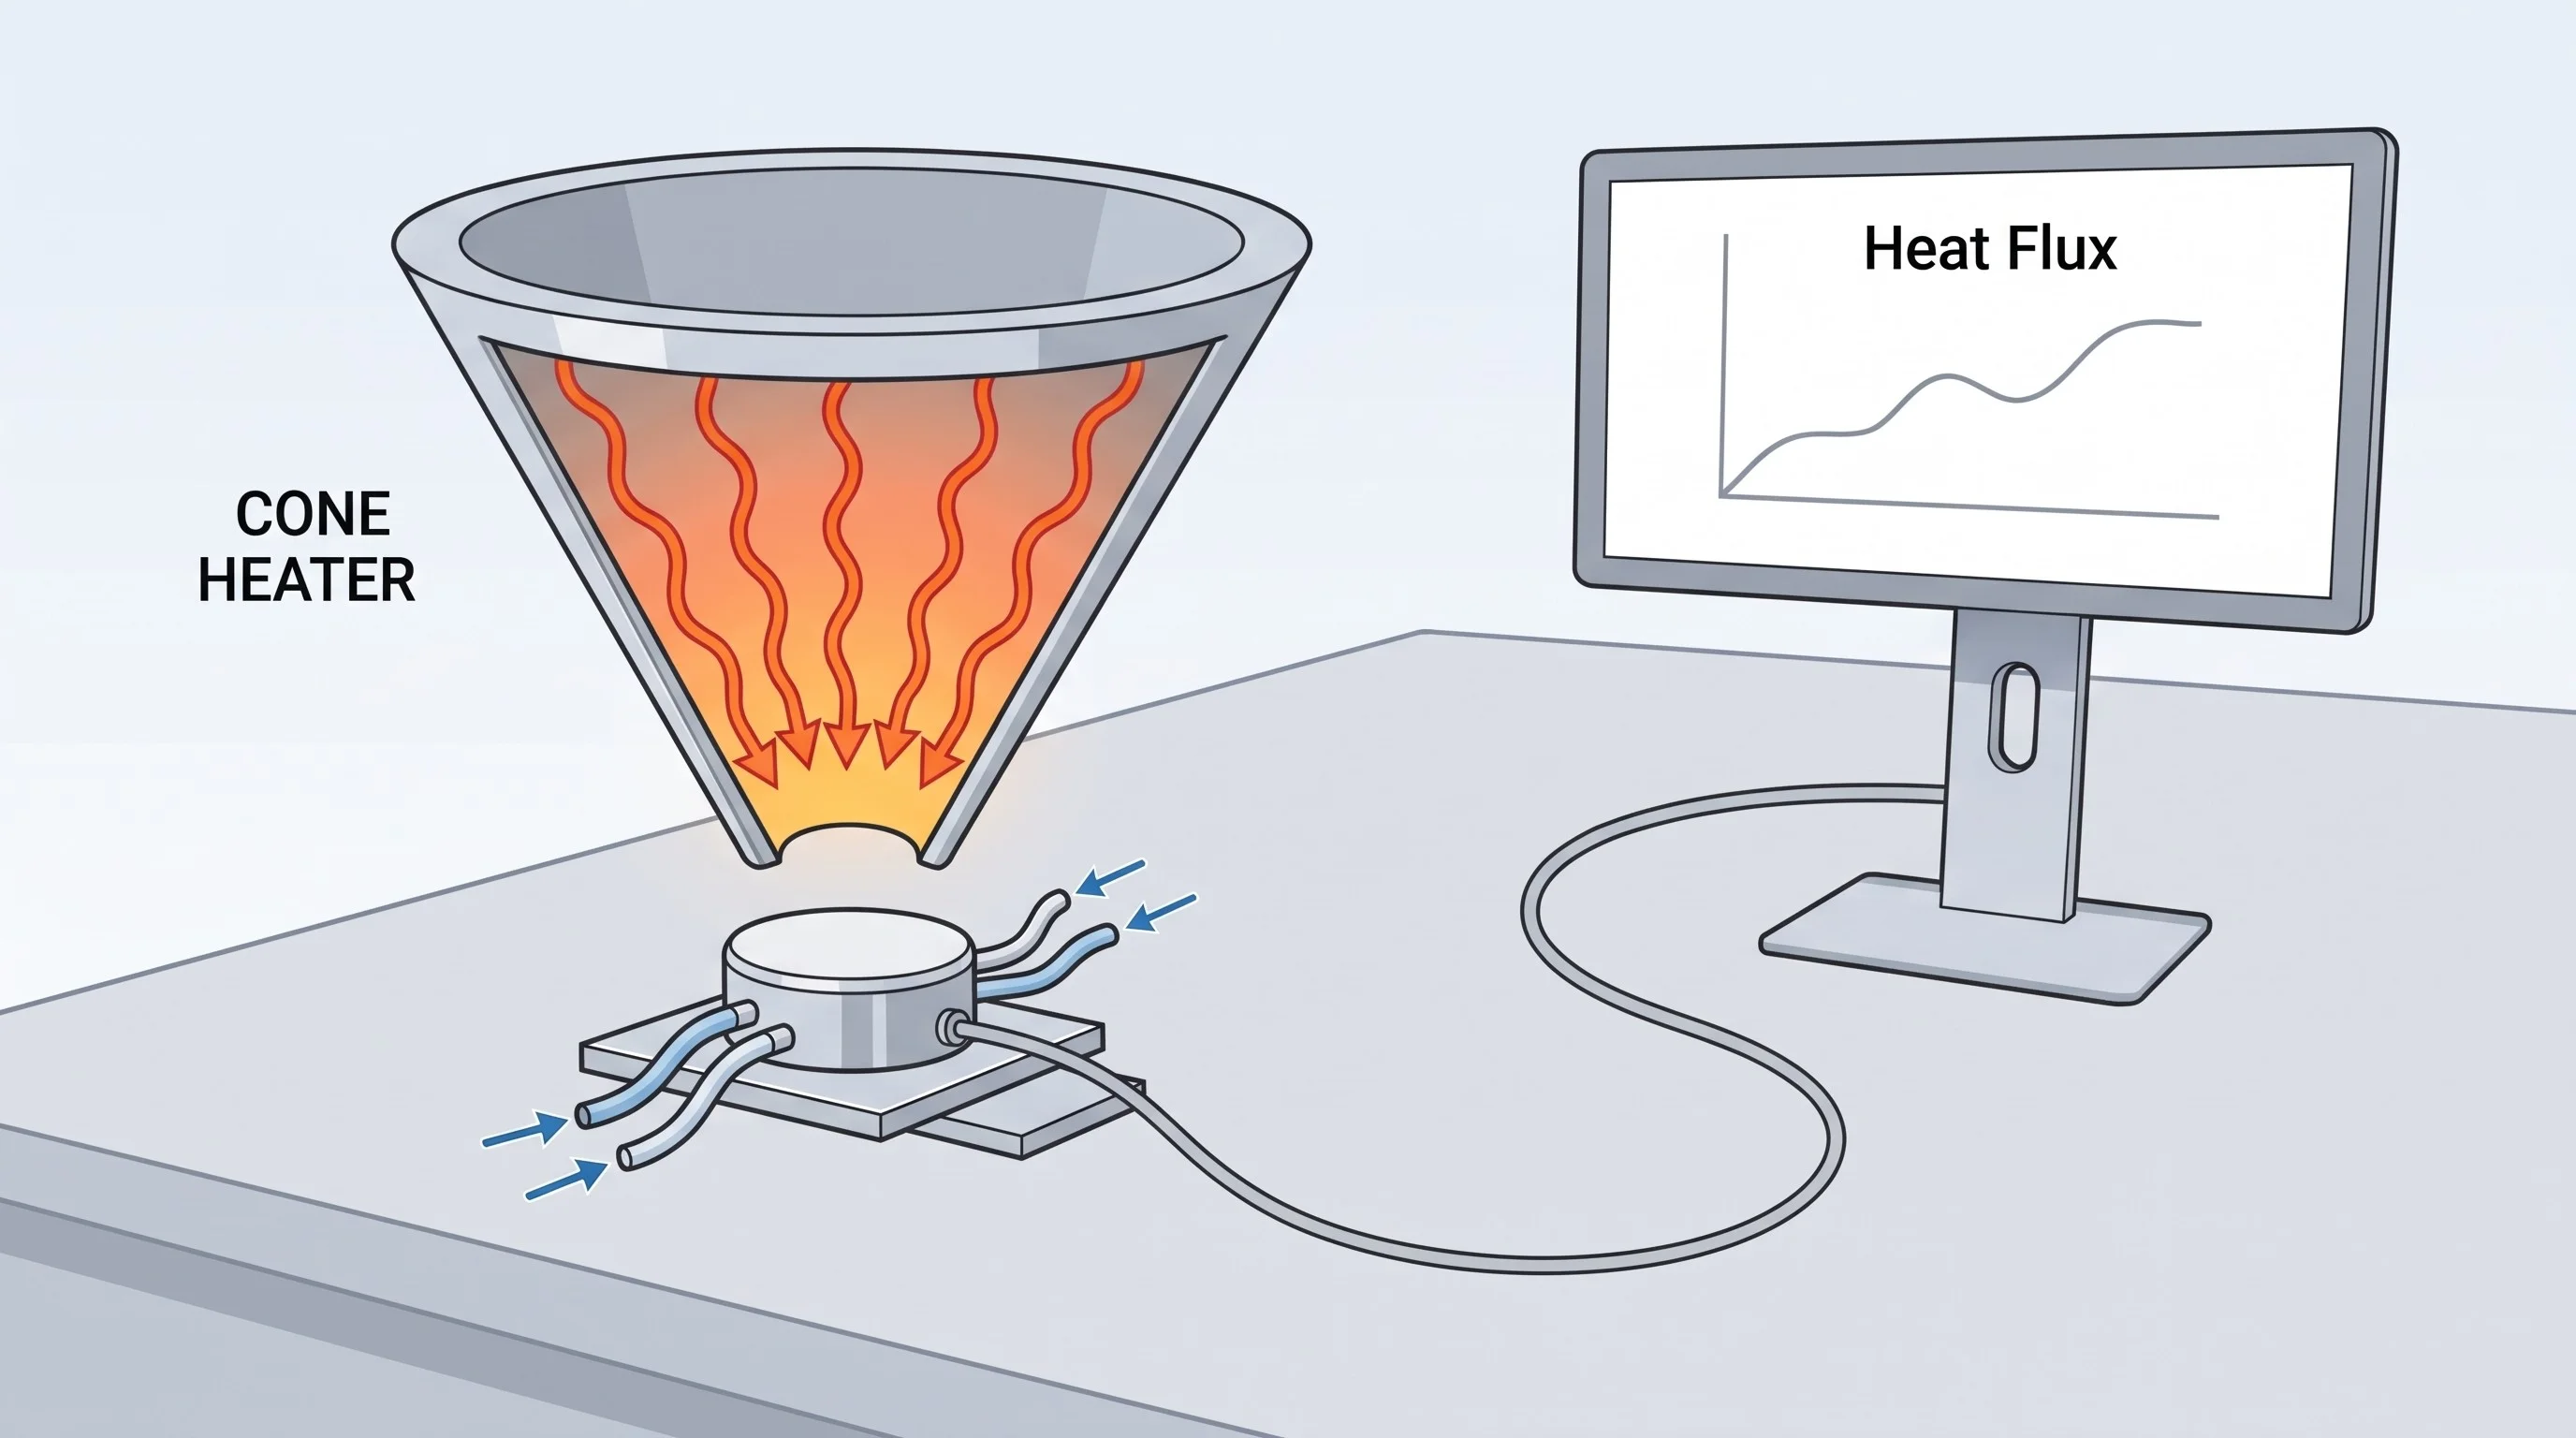
A cone-shaped electric heater radiates onto a 100 mm × 100 mm specimen lying horizontally beneath it. The heater can typically produce irradiance from 0 up to about 100 kW/m² (cone calorimeter specification, IIT Madras). Labs commonly test at levels such as 25, 35, and 50 kW/m², chosen to represent anything from a developing fire to a fully developed one.
The heater is controlled by temperature, not by heat flux directly. So before testing, the lab places a water-cooled heat flux meter where the specimen surface would be and adjusts the heater temperature until the meter reads the target irradiance. That temperature is then used for testing.
The relationship between heater temperature and irradiance shifts as the heating element ages, so the setting has to be checked regularly. Every check relies on the heat flux meter being right.
The Heat Flux Meter: What the Standards Expect
The meter used to set a cone heater is a water-cooled radiometer of the Schmidt-Boelter or Gardon type. Cone calorimeter specifications based on ISO 5660 and ASTM E1354 typically call for:
| Requirement | Typical specification |
|---|---|
| Sensor type | Schmidt-Boelter or Gardon |
| Range | At least 0 to 100 kW/m² |
| Accuracy | ±3% |
| Sensing surface | Circular and flat |
| Cooling | Water-cooled |
Source: cone calorimeter specification, IIT Madras, which cites ISO 5660 and ASTM E1354.
ISO 5660 also sets out how the working meter itself stays trustworthy. As summarized by manufacturer Hukseflux, the working heat flux meter is to be checked by comparison with two instruments of the same type and similar range kept as reference standards and not used for routine work (Hukseflux SBG04 manual).
The reference meters, in turn, are calibrated by a laboratory. Calibration methods for heat flux meters are described in the ISO 14934 series, which covers general principles, primary methods, secondary methods, and guidance on use. For more on the two sensor types, see Schmidt-Boelter vs. Gardon Gauge Heat Flux Sensors: Which Should You Use?
Setting the Heater: The Day-to-Day Check
Labs commonly check the heater setting at the start of each test day and whenever they change the target irradiance. A typical routine looks like this:
- Warm up the heater to a stable temperature near the expected setting.
- Start the cooling water to the meter and confirm steady flow at the manufacturer’s recommended temperature and rate, before exposing the meter.
- Mount the meter in the holder so its sensing surface sits at the position of the specimen surface, centered under the cone.
- Adjust the heater temperature until the meter reads the target irradiance, and let it settle.
- Record the heater temperature, meter reading, meter serial number, and date in the test log.
- Remove the meter and begin testing at the recorded heater temperature.
The whole check takes only a few minutes, which is exactly why it is easy to treat as routine. But it rests on one assumption: that the meter’s sensitivity is still what its certificate says. The heater check can’t detect a drifted meter, because the lab simply adjusts the heater until the drifted meter shows the target value.
This is why the measurement chain matters:
Calibration lab → reference meters → working meter → heater setting → specimen exposure
An error at any link is passed on, unseen, to every test that follows.
What Goes Wrong With the Meter
A cone calorimeter is a harsh place for a precision sensor. Heat, smoke, soot, and handling all take a toll, and most of the damage changes the meter’s sensitivity gradually rather than breaking it outright.
- Coating degradation. The black absorber coating can discolor, crack, or flake with repeated high-flux exposure. As its absorptivity drops, the meter reads low.
- Soot and residue. If the meter stays near the heater during or after a burning test, combustion products can deposit on the sensing surface and change how it absorbs radiation.
- Cooling problems. Low flow, air bubbles, or cooling water that is too warm or too cold change the sensor’s body temperature. That shifts its output and can cause condensation on the face, which affects readings.
- Physical damage. Scratches on the sensing surface, dents, kinked cooling tubes, and damaged cables are common in busy labs.
- Aging and over-range exposure. Long service and exposure above the rated range can change the sensor’s response permanently.
The drift can be larger than many labs expect. A 2025 study that recalibrated heat flux meters using an ISO 5660-1 cone heater noted that previous research had found calibration constants deviating by up to roughly 10% (Kim et al., Sensors, 2025). A deviation of that size is far beyond the ±3% accuracy typically specified for cone calorimeter meters.
For general care between calibrations, see our guides on How to Store Heat Flux Sensors Properly and How to Maintain the Accuracy of Your Heat Flux Sensors.
Calibrating the Meter Itself
The heat flux meter needs its own calibration, performed by a qualified laboratory against traceable reference standards. The cone heater check depends on it and cannot replace it.
Choose an accredited lab. An ISO/IEC 17025 accredited calibration gives an independently assessed method, a stated uncertainty, and documented traceability. Fire testing labs that hold their own accreditation are typically expected to show this for critical equipment. See Ensuring Accuracy in the Heat of the Moment for more on why it matters.
Cover the range you actually use. Ask for calibration points that span your test conditions, for example from about 10 kW/m² up to the highest flux you test at. A single-point calibration at low flux says little about performance at 50 or 75 kW/m², since sensor response may not be perfectly linear.
Understand the source. Heat flux meters are usually calibrated against a reference sensor using a blackbody or other stable radiant source. The source, its temperature, and how the meter is mounted all affect the result. Our posts on Blackbody Sources in Heat Flux Calibration Explained and How Blackbody Temperature Affects Heat Flux Calibration go into the details.
Manage reference and working meters separately.
| Working meter | Reference meters | |
|---|---|---|
| Use | Daily heater checks | Periodic comparison with the working meter only |
| Exposure | Frequent | Rare, so drift is minimal |
| Calibration | Regular lab calibration, plus in-house comparison checks | Regular lab calibration |
| Storage | Near the apparatus, protected | Stored separately, capped, away from routine use |
Keeping at least two reference meters lets you spot a problem quickly. If the working meter disagrees with both references, the working meter has drifted. If the references disagree with each other, one of them needs attention.
Set intervals from evidence. Start with the manufacturer’s recommendation and your accreditation body’s expectations, often annual. Then adjust based on as-found results and how heavily the meter is used.
Best Practices Checklist
These habits keep the cone heater setting, and therefore your test results, defensible.
- Keep one working meter and at least two reference meters, and use the references only for comparison checks.
- Always start cooling water before the meter goes under the heater, and stop it only after the meter has cooled.
- Remove the meter before any specimen is ignited, so soot and residue don’t reach the sensing surface.
- Inspect the absorber coating before each use, looking for discoloration, cracks, or deposits.
- Compare the working meter with a reference meter at regular intervals, and log the difference over time.
- Send meters for ISO/IEC 17025 accredited calibration across the full range of fluxes you test at.
- Enter each new sensitivity in the cone software or data acquisition system, and note the date it takes effect.
- Keep all calibration certificates and comparison logs for audits and to support interval decisions.
At ISO-CAL North America, we calibrate Schmidt-Boelter and Gardon gauge heat flux sensors, including water-cooled cone calorimeter meters, in our ISO/IEC 17025 accredited laboratory. As an authorized Hukseflux calibration service representative in the USA, we also calibrate sensors such as the SBG04 widely used in cone calorimeters.
Due for a heat flux meter calibration? Request a quote or start an RMA today.
Frequently Asked Questions
Can I calibrate my heat flux meter using the cone heater itself?
You can compare a working meter against a calibrated reference meter under the cone heater, and recent research has explored cone-based secondary calibration in more detail. But the reference meter still needs a traceable calibration from a qualified lab. The cone heater on its own is not a reference standard.
Schmidt-Boelter or Gardon: which is better for a cone calorimeter?
Both types are accepted. Schmidt-Boelter gauges give a stronger signal at the moderate fluxes used in most cone tests, while Gardon gauges are robust at high fluxes. Some newer sensors combine features of both. Choose based on your flux range and what your apparatus is designed to mount.
How often should the heater setting be checked?
Commonly at the start of each test day and whenever the target irradiance changes. Follow your standard and your lab’s quality procedures, as these may set a specific frequency.
Does a small meter error really matter?
Yes. Time to ignition and heat release rate both depend on incident heat flux. A few percent error in the meter means every specimen is tested at a different exposure than reported, which undermines comparisons between labs and against product requirements.