Albedometer Calibration Guide
A Step-by-Step Approach to Albedometer Calibration
Albedometers play a critical role in measuring surface reflectivity (albedo)—an essential parameter in climate studies, environmental monitoring, agriculture, and renewable energy projects. Accurate albedo measurements are crucial for understanding solar energy absorption, environmental changes, and validating satellite data. Regular calibration ensures albedometers provide reliable, traceable, and accurate data.
This step-by-step guide outlines best practices for calibrating your albedometer, helping you maintain measurement accuracy and reliability.
Step 1: Understand Albedometer Functionality
Before beginning calibration, it’s important to have a clear understanding of how albedometers function:
- Dual Sensor Setup:
An albedometer typically consists of two identical pyranometers positioned back-to-back—one facing upward to measure incoming solar radiation, and the other facing downward to measure reflected solar radiation from the surface. - Calculation of Albedo:
Albedo is calculated as the ratio of reflected radiation (downward sensor) to incoming radiation (upward sensor). Calibration ensures this ratio remains accurate.
Step 2: Gather Necessary Calibration Equipment
For accurate calibration, you’ll need:
- Reference Pyranometer: A calibrated, traceable pyranometer (Class A, ISO 9060 recommended).
- Calibration Mounting Stand: A sturdy platform for stable sensor positioning.
- Data Acquisition System (DAS): To record sensor output simultaneously.
- Leveling Tools: For precise sensor alignment (bubble levels, spirit levels).
- Cleaning Materials: For safely removing dirt or contaminants from sensors.
- Calibration Environment: Ideally an open outdoor area with clear skies or a well-controlled indoor calibration facility.
Step 3: Initial Inspection and Cleaning
Before calibration:
- Visual Inspection: Check the albedometer for physical damage, loose connections, or corrosion. Ensure sensor domes are intact and free from scratches or cracks.
- Cleaning: Carefully clean sensor domes using manufacturer-approved solutions and lint-free cloths to remove dust, dirt, and other contaminants.
- Cabling Inspection: Check cables and connectors for signs of wear, corrosion, or damage. Replace or repair as needed.
Step 4: Sensor Alignment and Setup
Proper alignment is crucial for accurate measurements:
- Mounting: Securely mount the albedometer on a calibration stand, ensuring the upper sensor faces directly upward and the lower sensor directly downward.
- Leveling: Carefully level the instrument using a bubble level to ensure the sensor’s optical axis is perfectly vertical. Even small misalignments can cause significant measurement errors.
Step 5: Reference Pyranometer Setup
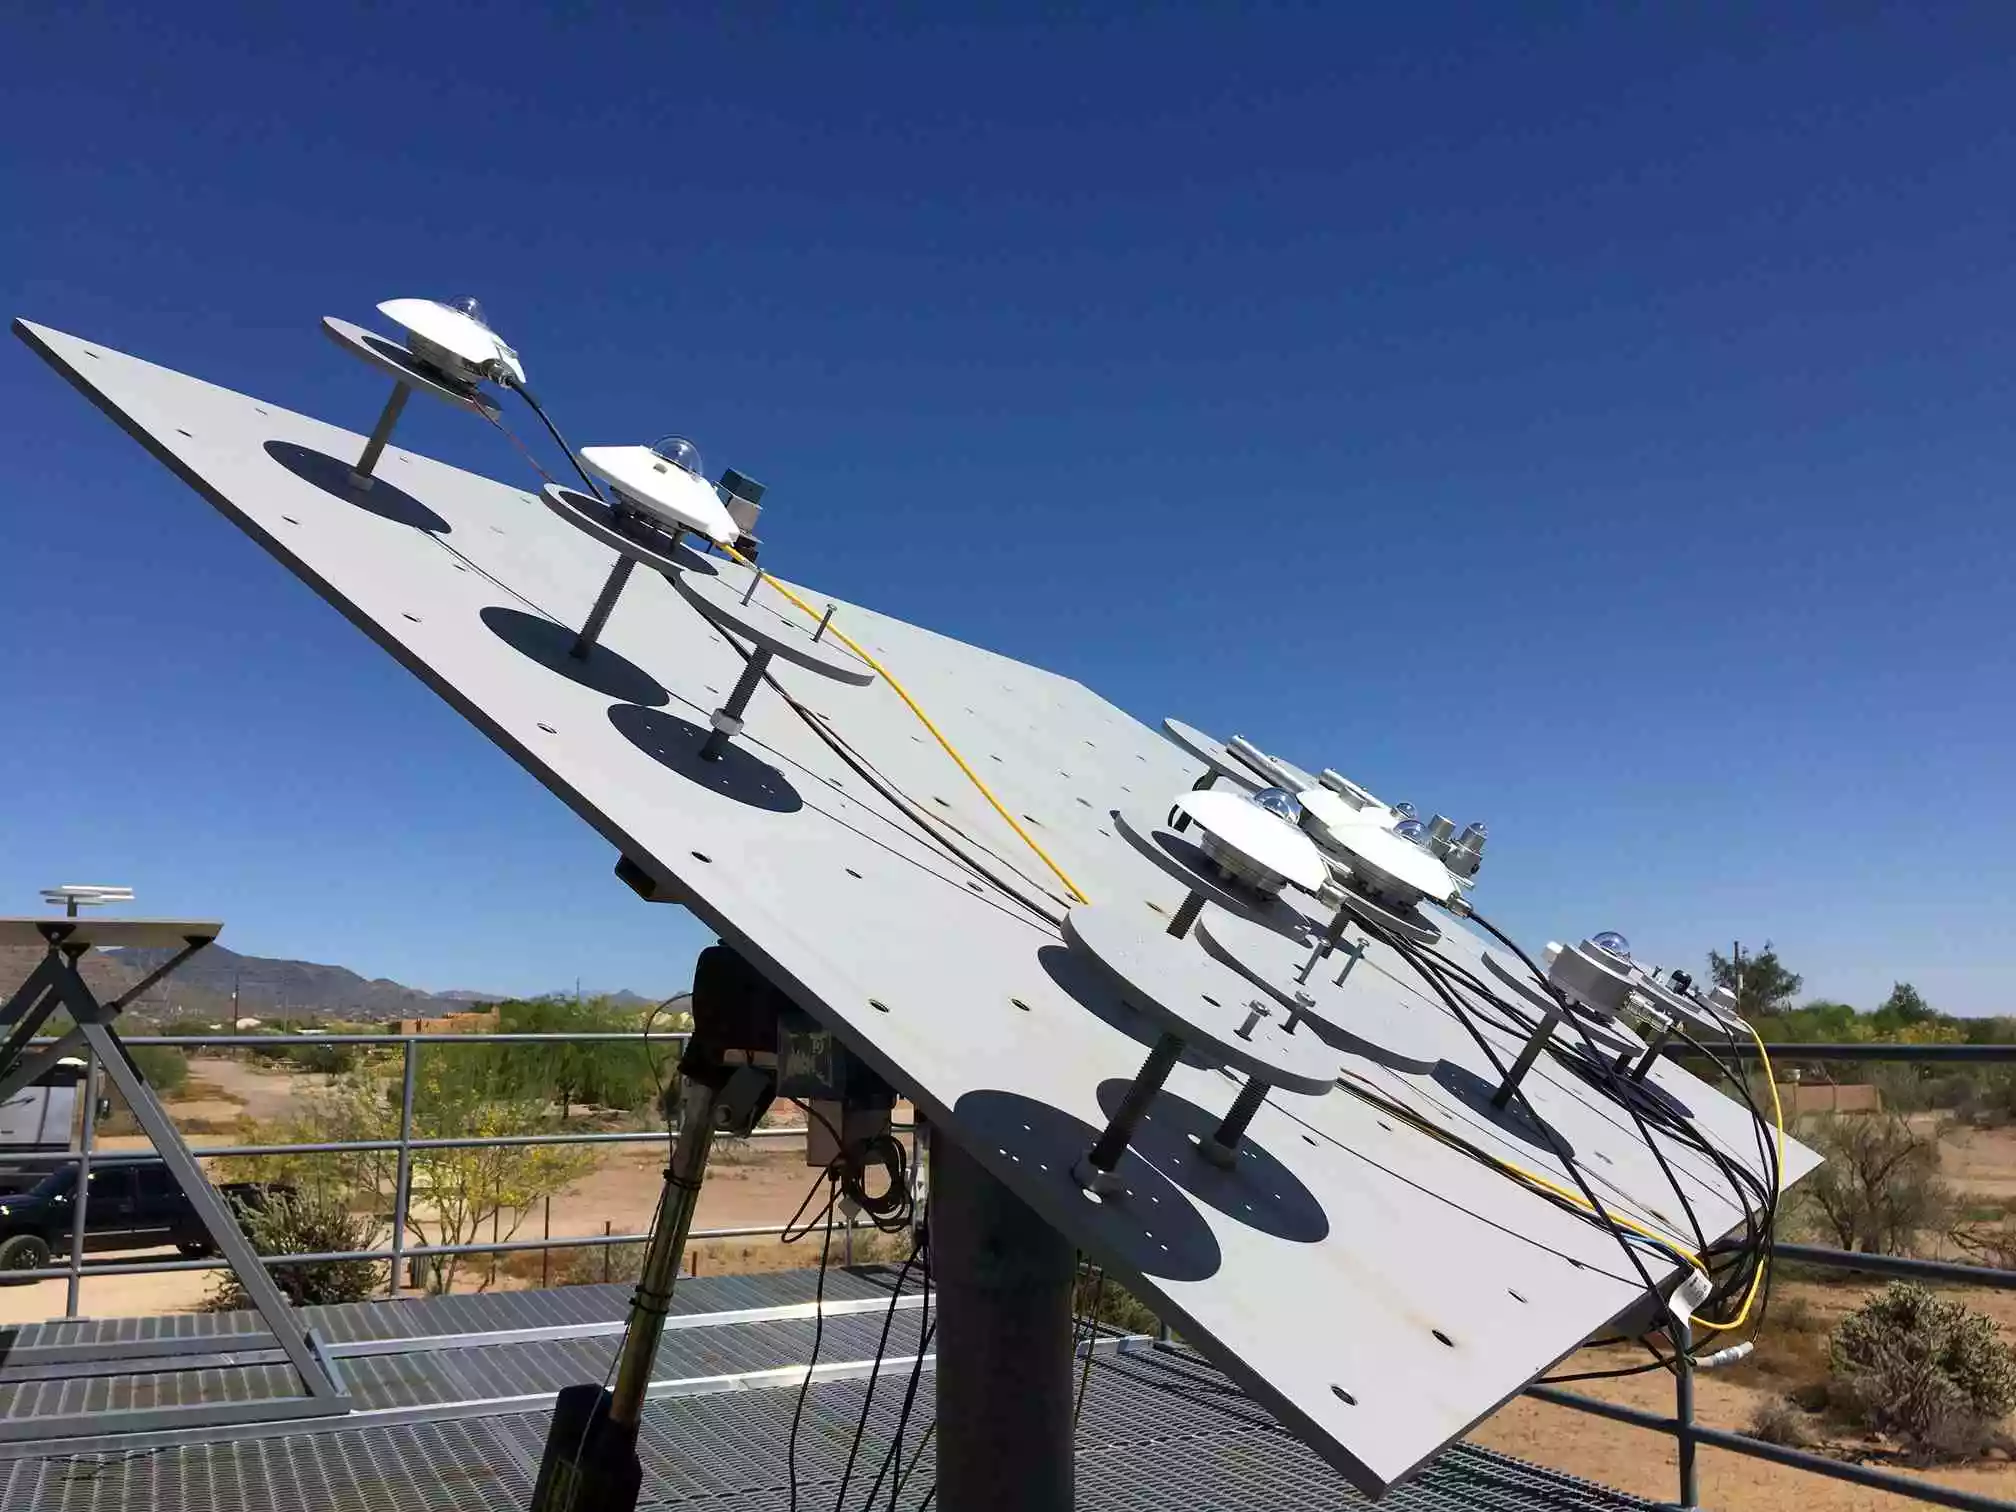
Place a calibrated, traceable reference pyranometer adjacent to the upward-facing sensor of the albedometer to measure incoming solar radiation simultaneously. This reference pyranometer must be accurately leveled and positioned with similar orientation to the albedometer’s upward sensor.
Step 6: Conducting the Calibration Measurements
- Indoor Calibration:
If conducting calibration indoors, use a stable artificial light source (a sun simulator). Both the albedometer and reference pyranometer should measure the irradiance simultaneously. - Outdoor Calibration:
If outdoors, choose clear-sky conditions around solar noon for stable irradiance. Record data simultaneously from both sensors for a minimum period of 15–30 minutes to capture stable measurements.
Step 7: Data Collection and Analysis
- Recording Data:
Using a reliable Data Acquisition System (DAS), record simultaneous readings from:- Albedometer’s upward and downward sensors
- Reference pyranometer
- Calculate Correction Factors:
Compare the readings from the upward sensor of the albedometer to the reference pyranometer to identify any deviations. Compute correction factors or calibration coefficients as needed. - Evaluate Reflectivity Accuracy:
Verify the consistency and stability of the reflected radiation measurements from the downward-facing sensor. Ensure it aligns with expected reflectance values for the calibration environment.
Step 8: Applying Calibration Adjustments
If deviations are identified, adjustments may include:
- Applying a correction coefficient to albedometer measurements.
- Adjusting amplifier gains or recalibrating electronic circuitry (as per manufacturer guidelines).
- Repeating the calibration procedure after adjustments to verify accuracy.
Always follow manufacturer guidelines and documentation when making adjustments.
Step 9: Documenting the Calibration
Proper documentation ensures traceability and compliance:
- Record sensor serial numbers, calibration date, technician name, and location.
- Include pre-calibration and post-calibration readings, calculated calibration factors, and details of the reference pyranometer’s traceability.
- Retain calibration certificates for audit purposes and quality assurance.
Step 10: Establishing a Calibration Schedule
Regular recalibration is essential. Typical intervals for albedometers are annually, but harsher environments (e.g., dusty or coastal areas) may require more frequent recalibration.
Why Calibration Certainty Matters
Calibrating your albedometer against traceable standards, ideally following ISO 17025 accredited calibration methods, is crucial for data confidence. Calibration certainty allows for accurate climate modeling, precise agricultural measurements, and reliable solar resource assessments. For more details, refer to our Essential Guide to Calibration Lab Standards.


